2011:Electrical Controls
From 1511Wookiee
Jump to navigationJump to search
Electrical Controls Subteam's Engineering Notebook
Tasks
-
Install LED lights on the buttons -
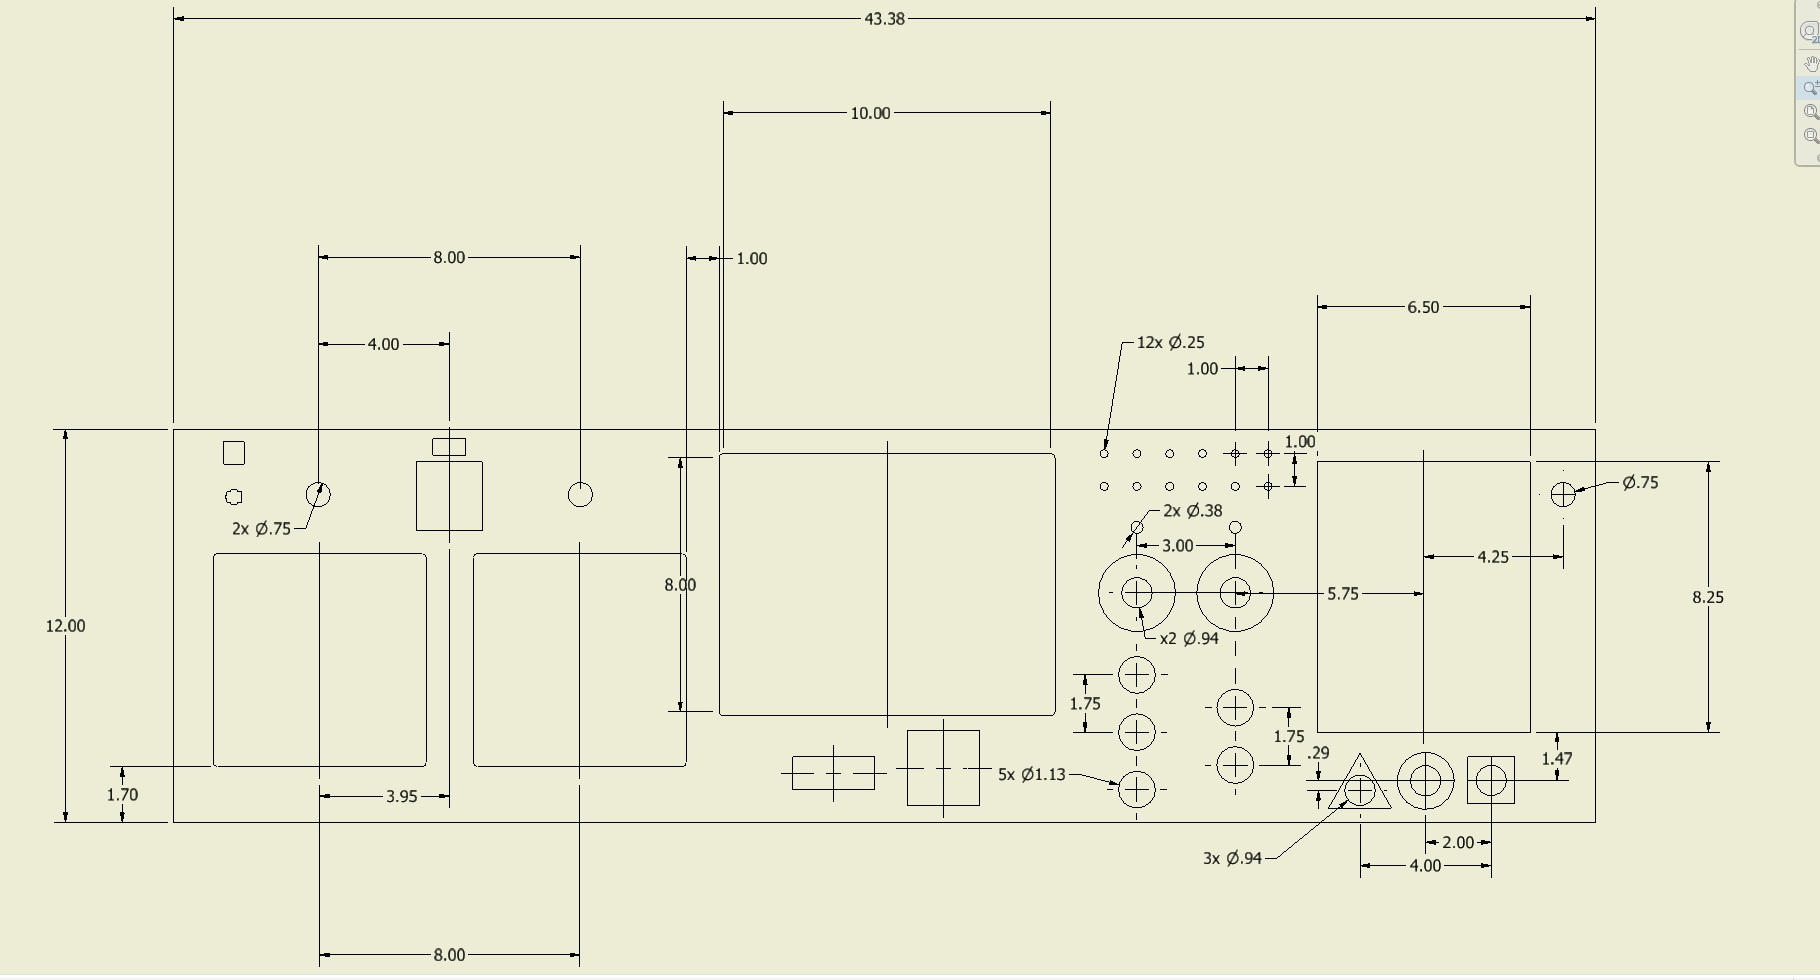
Finalize the paper version of our controls- Transfer the paper controls into a proto-type model
- Define functions for additional toggles, switches & buttons
Locate running wire holes- Start programming with the Cypress board and display
- Test the joysticks with the classmate
- Start schematics/wire run list for the controls.
- Shave off notches on backside of buttons
- Continue to fit all components
- Paint the controls box
- Continue to solder together all buttons & switches
Important Links
Status Reports
Week 1
Week 2
Week 3
Week 4
Week 5
Week 6
Engineering Notebook Templates Available at:Engineering_Notebook_Template
Please Label All Notebook Pages 2011:Controls XX.XX to avoid confusion.
Useful Links
Design Files
2011:Defined Control Functions
http://penfieldrobotics.com/wiki/index.php?title=Image:Controls_MechanicalFINAL..xls

